You are writing all these backups as individual EC2 snapshots and/or full AMIs on AWS EC2 but how can you actually use them, should disaster befall your data?
Here is how to do that on Linux.
Step 1. Create a volume from a snapshot
In the AWS Management Console, find the snapshot that holds you backup.
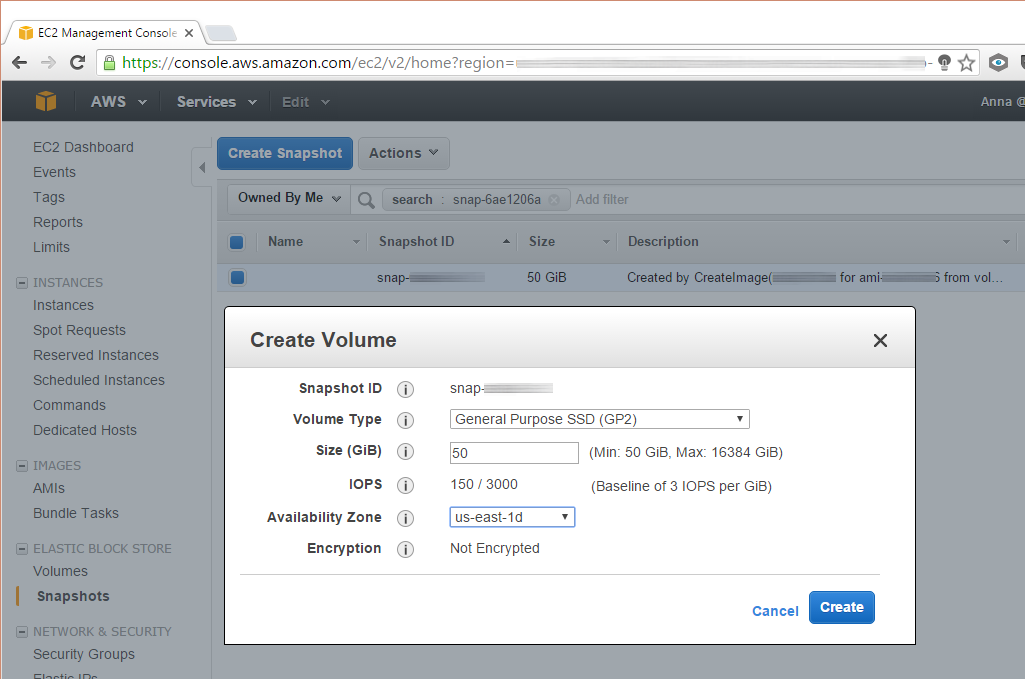
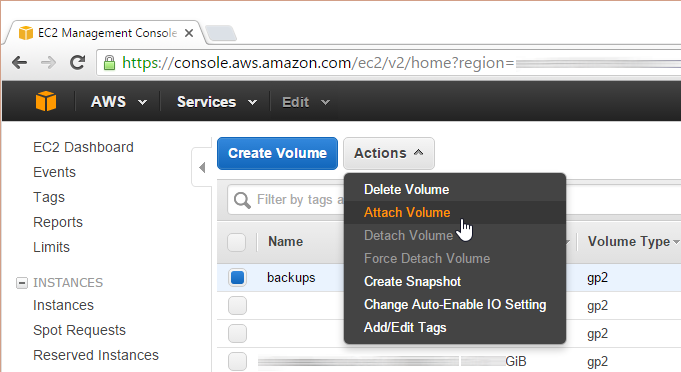
Next, create a volume from it and attach the volume to your running instance.
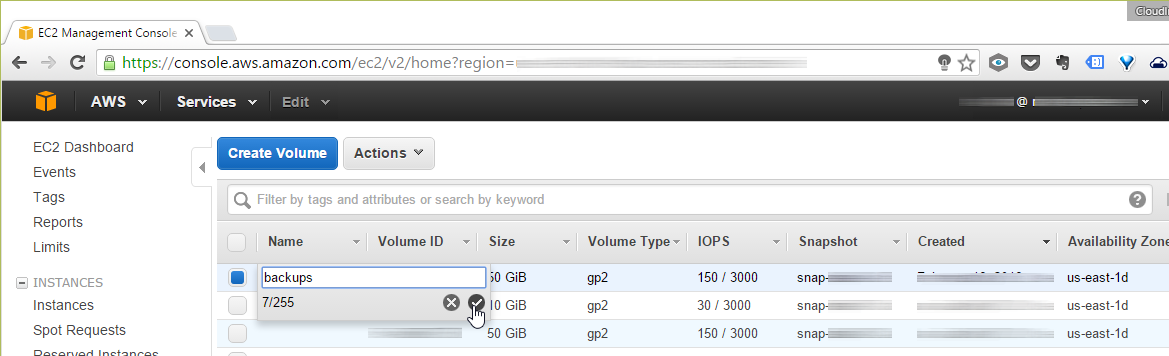
Add a name label to your volume to help avoid a mishap.
Step 2. Identify your backup volume in Linux
Now is the time to have a look at the currently attached file systems:
fdisk -l
Compare this with the contents of fstab:
cat /etc/fstab
Make a note of the address of the volume.
Step 3. Replace the UUID and adjust the label
Read out the UUID of the supplemental drive:
xfs_admin -u /dev/xvdg1
Replace the UUID with a newly generated one:
xfs_admin -U generate /dev/xvdg1
Change the label:
xfs_admin -L "Backup" /dev/xvdg1
You should see output resembling this one:
writing all SBs
new label = "Backup"
Step 4. Mount the file system
Before you can access the volume, you need to mount the file system:
mount /dev/xvdg1 /var/www/backup
Should you encounter problems, see:
dmesg | tail
for leads on trooubleshooting.
Step 5. Do your thing with the backup
Next, switch to the source directory containing your backup files:
cd /path/to/your/backup
Then copy or move the files.
Step 6. Always clean up after yourself
Exit the directory and unmount the volume:
cd /
umount /dev/xvdg1
Now feel free to detach the volume and destroy it (you still get to keep the original snapshot!).
Related: How to ramp up your defenses: a cyber security showdown of AWS versus Microsoft Azure.
Leave a Reply