[Updated 2022-11-30] This post explains how to set up robust security headers in NGINX to protect your web application from malicious payloads and other forms of attacks. Choose your HTTP(S) headers wisely.
In order to effectively prevent (or sufficiently hinder) some of the nastiest hacks, your web servers can send a couple of sophisticated HTTP security headers. A few options in a configuration file can prevent a serious cyber security incident.
Activate HTTP Strict-Transport-Security (HSTS)
HTTP Strict-Transport-Security (HSTS) enforces secure connections over HTTPS (after the initial handshake). To set this header, enter this line in the server block of the NGINX configuration file for your site:
add_header Strict-Transport-Security "max-age=31536000; includeSubDomains; preload";
Set X-Frame-Options to prevent clickjacking attacks
The X-Frame-Options header:
add_header X-Frame-Options "sameorigin";
was devised to prevent clickjacking (UI redress) attacks, where a hacker uses multiple transparent or opaque layers to trick a user into clicking on a page element that triggers an undesired event.
Set X-Content-Type-Options to disallow circumventing declared MIME types
The header (with the only supported value nosniff):
add_header X-Content-Type-Options nosniff;
reduces exposure to drive-by attacks by preventing browsers (Internet Explorer and Google Chrome) from MIME-sniffing a response away from the declared content-type, which would allow to execute cleverly (and inappropriately) named files after an upload to your server initiated by a malicious user.
Activate X-XSS-Protection
The header X-XSS-Protection:
add_header X-XSS-Protection "1; mode=block";
can prevent cross-site-scripting (XSS) attacks.
Create a Content Security Policy
In order to complete your setup, create a Content Security Policy for your server. Without a content security policy, a web browser has no way of knowing if code injection from an external domain is legitimate and intended by the website owner or not. A too restrictive or plain outdated content security policy will have another major drawback: it may prevent the execution of code supplied from external domains. In other words: your ads, social media widgets or other code may stop running.
For details on how to create a content security policy that’s both protective and functional, read Secure Your Web Server against Attacks via XSRF/CSRF/XFS: How to Design a Content Security Policy.
Add a Referrer-Policy header to limit information sent out in the Referrer string
Your web server might inadvertently disclose sensitive information by sending the full origin URL in the referrer to an external destination. This behavior is highly problematic as an attacker could divulge not merely host names, but directory names and variables, possibly including even user names or other identifiers, from the referrer. In order to limit your server’s exposure, it is advisable to set a referrer policy header (browser support varies).
A Referrer-Policy header will sanitize the referrer string according to your chosen setting. You could even suppress the referrer entirely. A word of caution: if your website relies on advertising revenue or affiliate links, removing the referrer might render the attribution of sales all but impossible.
The Referrer-Policy header supports the following parameters:
- no-referrer: no referrer will be sent under any circumstances (in web browsers that support the Referrer-Policy header)
- no-referrer-when-downgrade (browser default): the full, non-sanitized, origin URL will be sent as the referrer over HTTPs connections, no referrer sent otherwise
- origin: only the origin of the document will be sent
- origin-when-cross-origin: the full, non-sanitized, origin URL will be sent as the referrer when performing a same-origin request, only the origin of the document will be sent otherwise
- same-origin: the full, non-sanitized, origin URL will be sent as the referrer for same-origin requests, no referrer for cross-origin requests
- strict-origin: for requests over HTTPs, the origin of the document will be sent and no referrer at all over HTTP
- strict-origin-when-cross-origin (this setting offers you maximum security when sending a referrer): the full origin URL will be sent as the referrer when performing a same-origin request, only the origin of the document will be sent over a secure connection in a cross-origin request and no referrer will be sent whatsoever over HTTP connections
- unsafe-url: the full, non-sanitized, origin URL will be sent as the referrer in each and every case (a rather pointless exercise as you could simply set no Referrer-Policy header and be not any worse for it)
To send a Referrer-Policy header using NGINX, add the appropriate directive to your configuration file, for example like this (in the server block):
add_header Referrer-Policy "origin-when-cross-origin" always;
Referrer-Policy supports multiple values, either separated by a comma in the header or by specifying the header more than once (the last value overrides the fallback values if supported by the user agent).
Pin your public keys
The Public Key Pinning Extension for HTTP (HPKP) tells a web client to associate a specific cryptographic public key with a certain web server so as to prevent MITM (man-in-the-middle) attacks with forged certificates. Pinning can prevent a hack of your website or a mobile application should the certificate authority get compromised.
Here is how to do it.

To “pin” your keys, you simply tell your web server to send a fingerprint of your SSL certificate and a fingerprint of a secondary certificate to the client in the HTTP header. The secondary certificate can be self-signed. When it comes to generating the fingerprints, you have basically three options. You can either generate a fingerprint from a certificate, OR from a certificate signing request OR from a private key file, it is entirely up to you. Here is how to do it.
Step 1. Find your certificate OR your private key file OR the CSR
Find the path to your certificate, certificate signing request or public key file.
When using Let’s Encrypt, enter the command:
# certbot certificates
The output will include information that looks something like this:
Certificate Path: /etc/letsencrypt/live/cloudinsidr.com/fullchain.pem;

Private Key Path: /etc/letsencrypt/live/byleapsandbounds.net/privkey.pem
Step 2. Generate the first fingerprint
You can generate a fingerprint from a certificate, a certificate signing request or a private key file. Whichever method you choose, make sure you make a note of the resulting output.
OPTION 1: Extract a fingerprint from a certificate
Generate a fingerprint from a certificate using:
openssl x509 -pubkey < /etc/letsencrypt/live/byleapsandbounds.net/fullchain.pem | openssl pkey -pubin -outform der | openssl dgst -sha256 -binary | base64
You should see output resembling this line:
D7+B4MFfWCe2mc+/v1BrrXsIif3w9HVPaNtQCYVIdjI=
This is the fingerprint generated from your certificate.
You can also generate a fingerprint from a private key file or a CSR.
OPTION 2: Extract a fingerprint from your private key
Extract a fingerprint from your private key
openssl rsa -in /etc/letsencrypt/live/cloudinsidr.com/privkey.pem -outform der -pubout | openssl dgst -sha256 -binary | openssl enc -base64
writing RSA key
PaNtQB4MIif3w2mc+/v1BCFfWCeD7+r9HVrXsYVIdjI=
OPTION 3: Extract a fingerprint from a certificate signing request
You can extract the same fingerprint from a certificate signing request:
openssl req -in cloudinsidr.com.secondary.csr -pubkey -noout | openssl rsa -pubin -outform der | openssl dgst -sha256 -binary | openssl enc -base64
openssl req -pubkey < cloudinsidr.com.secondary.csr | openssl pkey -pubin -outform der | openssl dgst -sha256 -binary | base64
Step 3. Create a header that carries the fingerprint
In the NGINX configuration file for your site, create a header that carries the fingerprint:
add_header Public-Key-Pins 'pin-sha256="PaNtQB4MIif3w2mc+/v1BCFfWCeD7+r9HVrXsYVIdjI="; max-age=60';
Step 4. Generate a secondary fingerprint from a backup certificate
First, create a private key:
openssl genrsa -out cloudinsidr.com.secondary.key 4096
Next, generate a certificate signing request (CSR) with the new private key:
openssl req -new -key cloudinsidr.com.secondary.key -sha256 -out cloudinsidr.com.secondary.csr
Follow the onscreen instructions to complete the process (a challenge password is optional).
Calculate the fingerprint based on the secondary certificate:
openssl req -pubkey < cloudinsidr.com.secondary.csr | openssl pkey -pubin -outform der | openssl dgst -sha256 -binary | base64
Step 5. Add the new fingerprint to the headers
Add the new fingerprint to the header in NGINX:
add_header Public-Key-Pins 'pin-sha256="PaNtQB4MIif3w2mc+/v1BCFfWCeD7+r9HVrXsYVIdjI="; pin-sha256="v9CghcQci1EC30X1Zdc+ORThG4cjqIHqCSZCxb7cZQY="; max-age=60';
For testing purposes, max-age is set to 60 seconds. Replace this setting once you know that it works (3600 would be an hour).
Restart (or reload) NGINX:
service nginx restart
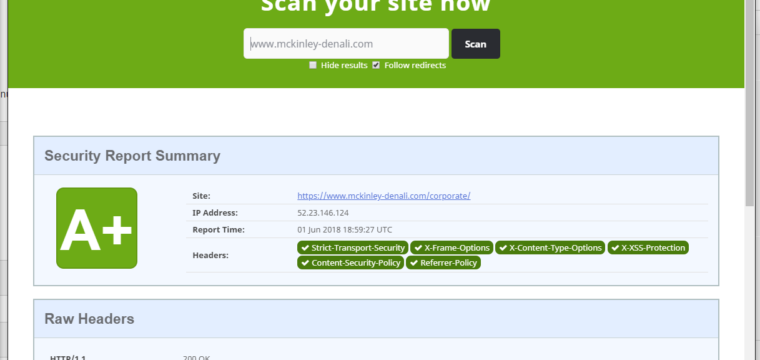
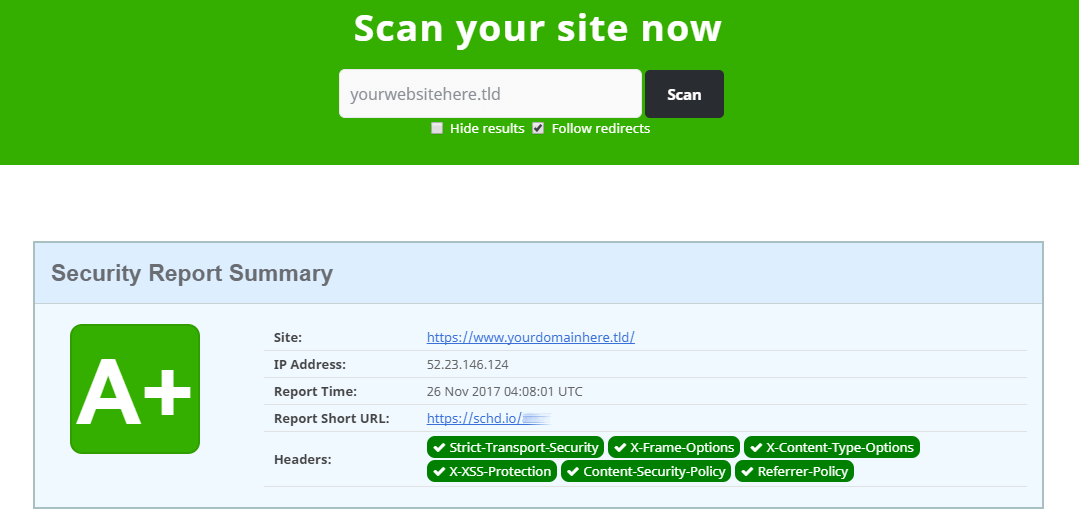
Step 6. Verify that your setup is correct
To verify your results, navigate to:
https://securityheaders.io/
https://www.ssllabs.com/ssltest/
and initiate a test. Your server should now pass it with flying colors.
Leave a Reply